Facebook Us

Showing posts with label children. Show all posts

Monday, August 13, 2012

Sweetest School Support

Can you believe "back-to-school" time is here already? Now that I am no longer a teacher, I can join the other moms and dads and be ecstatic for this wonderful time of year!!

 As a little back to school treat I am making these candy bars for my daughter. They are encouraging and so sweet (hehe excuse the pun!). I found them over at Sugar to Designs and the printable is free.


Go ahead,sweeten up your little scholar's day. :) 

 Love and lots more free time, Kerry, the Momster 

Thursday, April 5, 2012

Pass me Over

Hi all, Sorry I have been M.I.A, but I am in the midst of a new project, and have had my hands full. Anyways here is a little craft for a place setting that I created to keep little hands busy today.
Happy Pesach/Easter/Spring!


I'm a lamb of God!
Love and lambs, 
Kerry the Momster 


Monday, March 5, 2012

Little Flower Princess

For Make-It March, here's a tutorial for a shirt I made a while back, inspired by one of my favorite bloggers, Ruffles and Stuff. A simple way to jazz up a shirt for a girl:

 1. Start with a fun colored Shirt.
2. Cut out two shapes of "tear drops" and then cut out from chiffon. (I used the top part of a nightie that my daughter has outgrown). Cut as many pieces as will take to go around the collar twice.
 
 3. Pin the big tear drops to the shirt and run through the machine, then repeat with the little ones and voila!


4. Little Flower Princess! (Clip tutorial coming soon!)

Love and petals,
Kerry the Momster

Thursday, February 16, 2012

Dapper Dude

DISCLAIMER!!! I'm really not a fantastic seamstress- never been schooled in the area or anything, but I do know how to thread my machine and run pieces through it so that they stay together-ish. That being said, I don't really measure, or cut straight or have patience, or any remnants of the OCD I thought I had (with 2 kids, I'm lucky if I have enough energy to brush my teeth everyday, so why waste it on measuring??)...so if you are a real "sew-er" you may want to opt out on viewing any of my sewing tutorials, as they may look somewhat to you, as what I imagine a lamb being slaughtered might look like to a vegetarian.

That being said, here is my remake of a baby jersey/sweater into a vest. I adore this little sweater, so was really bummed when Asher outgrew it. And so the old man sweater has now become the old man vest! Heres how:
Lay sweater flat.

Snip off sleeves, including the seam. Save sleeves for later as I think I may have another project in the works for those!


Pin the ends inside.
Sew down and ...

done!

Add a baby and you are good to go!

So cute, I know!

Next time I would overlap the sleeves a bit so that they aren't so gaping.


Love and cuteness, 
Kerry the Momster

Saturday, February 11, 2012

Soft as petals.

Felt flowers are fun!


A cute little felt flower tutorial, for your tiniest valentines. Easy-peasy, lemon squeezy, and so cute, you might become a felt flower addict.
Start with a square (I divided one piece of felt into 6 squares)
Draw a spiral. As you do more, you may not need to draw them anymore, and just cut blindly.
Cut some petals too, if you like.
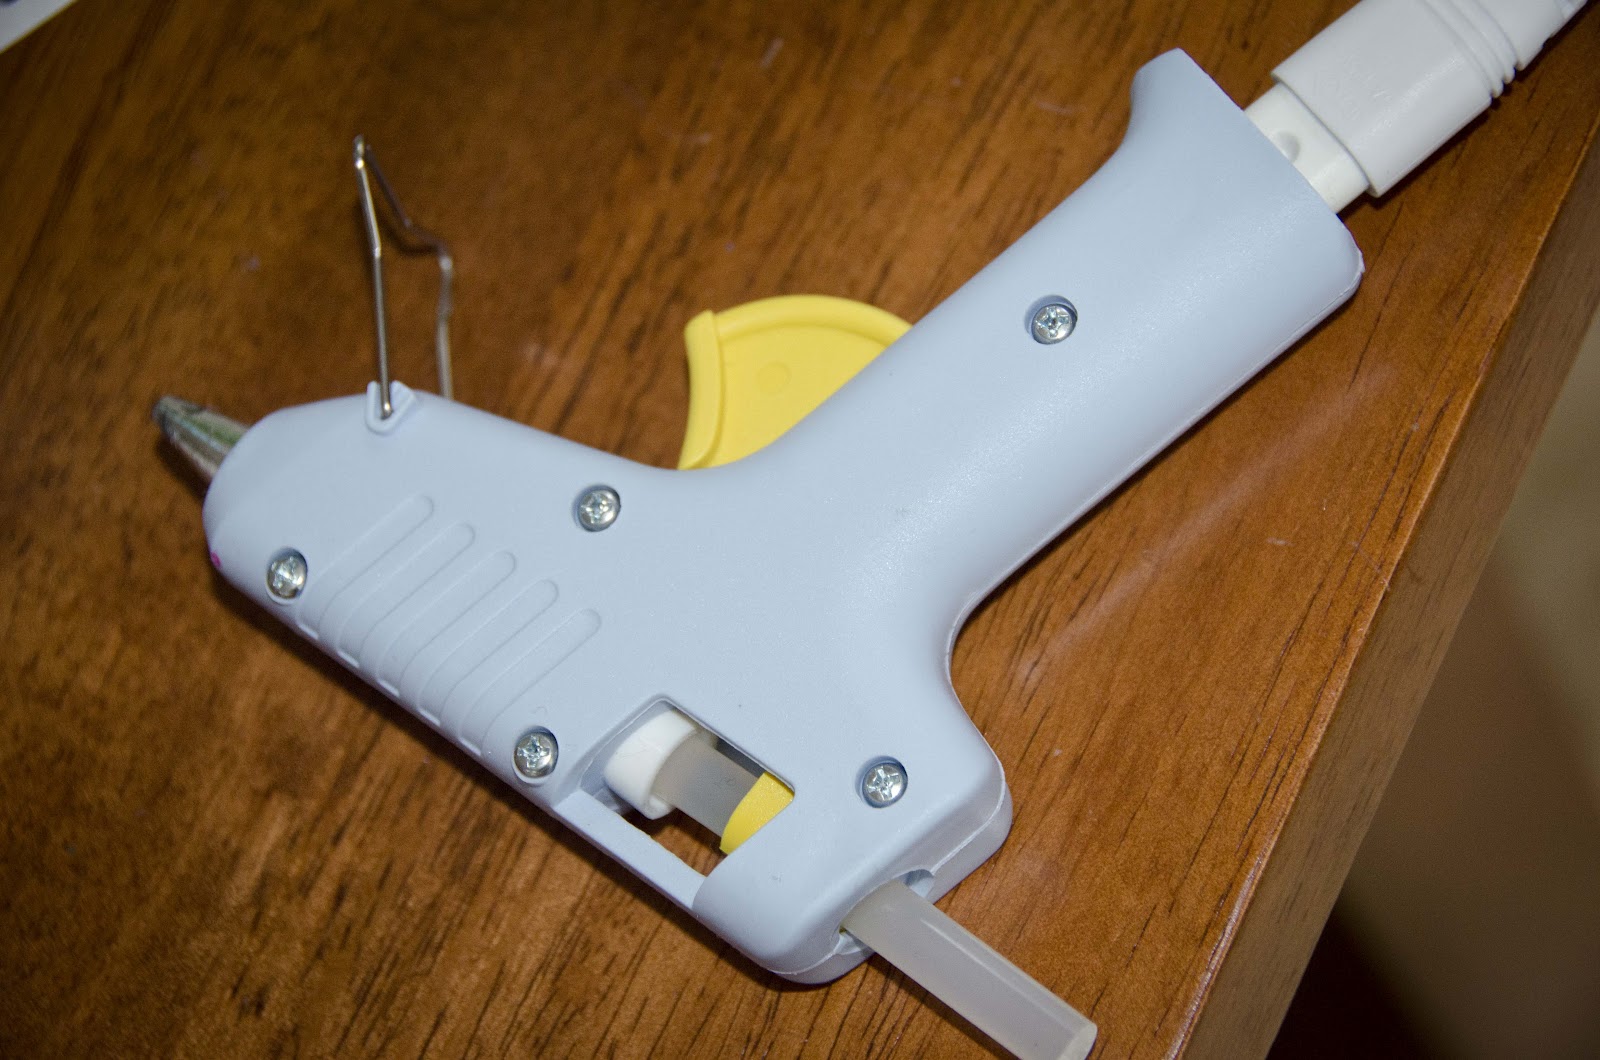
My favorite weapon in my craft box: glue gun! (but you can use liquid glue)
Cut the spiral...
Now roll and glue from the middle, round and round ( like rolling a sleeping bag)
More of the rolling...
When finished, glue the end. Now glue on some petals, and use to decorate your children. :) I glued a safety pin onto one, and a hair clip onto another. You can use them to embellish gifts, shoes, hairbands, tacoss... ok, maybe not tacos.

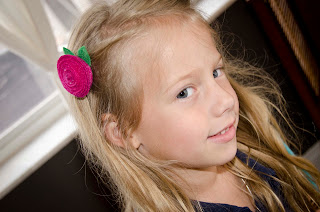
Pro Felt flower model.
Love and little flowers, Kerry the Momster

Wednesday, February 1, 2012

Fluttering Hearts

Mine.
Theirs
I saw this lovely heart paper chandelier in the pottery barn kids' catalog with it's not-so-lovely price of $45. I figured it seemed easy enough to make so I had a go at it for about $3 and a little bit of time spent with my darling daughter. Okay, mine is not quite as fancy but it was my first try at it, and I made it fairly quickly. Still it does the job of adding heart flair, but I think I will make more and add ribbons and fun sparkly things too.
Here's how...
What you need:
2 wire hangers
old magazines
fishing string or sewing thread
scissors
glue
hole punch (optional)


1. Start with 2 wire hangers. Twist them around each other to make a plus sign with one hook at the top. Bind the hangers with fishing string or wool. Next time I think I would cover it with ribbon before I tied the strings on to cover the wire.
2. Tear red, pink and white colors from magazines (great for a child to do). You don't need the pages to be free of writing-as you can see I used Gerber ads here.
3.Glue them into full "pages" so that both back and front are in valentine colors.
4.Then cut out heart shapes, or use a template and have your child cut out hearts. You can also use construction paper if you don't want to go through the hassle of magazine scrap hunting.
5. Punch holes into the hearts or just cut a little slit at the top.
6. String the hearts together, tying double knots at the top of the heart to hold them in place. I used 3-5 per string. 


7. Tie them on to the hanger 


8. Hang :) 

Love and fluttering hearts,
Kerry the Momster


Monday, January 2, 2012

Capsualized:Wrapping up the year


As a fun family project for the end of the year, we created a family time capsule. It was a lot of fun to sit around and rehash the years activities and events, and we all had some input.

Creating the time capsule is quite simple and can be as complex or sparse as you want it to be. We used a box and added items to it. Each year I label a box (shoe box or whatever) with the year and stick it up in our office. As the year progresses I toss ticket stubs, hotel keys, brochures of places we go, random photos, funny quotes my daughter says,plane tickets, artwork and anything else I feel might be good to preserve. It's what I call my "lazy mommy's scrapbooking". So on New Years Eve we all sat around and pulled everything out of the box and talked about all the fun things we did. 
Questions we asked each other and wrote the answers for our time capsule:

  • Favorite song right now
  • Best item bought/gifted this year
  • People we like to hang out with
  • Best holiday of the year
  • Hobby
  • Biggest news headlines of the year
  • Proudest accomplishment this year


We added a dollar (money changes over time), a grocery store ad ( its fun to see the price of everyday items years from now) and some more photos. We decided that we will open the capsule in 10 years. Although my daughter enjoyed making it so much, that she wants to make another one and open it tomorrow. (I don't think that she quite grasps the pint of it all yet, hahha)

Remember this is yours, so keep it personal and try to capture a "moment in time".

Love and memories, 
Kerry the Momster


Tuesday, December 27, 2011

Keep Kids Koloring (Kaylee's title)

MY daughter sits near me hovering over my shoulder as I type. So I will be setting her up with a drawing activity at the close of this post. It's a short post, because I find it rather difficult to type when a 6 yr old is reading everything aloud as I write. Like a munchkin feedback. I came across this fantastic little site, which teaches kids how to draw cartoons. Every kind, from SpongeBob to Star Wars. My favorite is the dragon. It has varying levels of difficulties, so is great for many age groups. Better yet, it's FREE!!!

 Keep them busy for at least a day on this VERY long winter break.So grab pencils, paper and crayons and get those kids writing comic strips, or drawing cards for the coming year. Just get them busy! How to Draw Cartoons

Love and industrious little ones,
Kerry the Momster

Saturday, December 24, 2011

A Reindeers got to munch!

We made this awfully fun, terribly delicious (as in I couldn't stop eating it!) little treat called Reindeer Munch. Even though it looks like a gooey, dirty mess- well, it is- it is music to your mouth!
I used this recipe from We Got to Eat.


Reindeer Munch

 Active Cooking Time: 20 min. Total Time: 50 min.
INGREDIENTS
2 c. bite-size square-shaped rice cereal, such as Chex
2 c. thin pretzel sticks
1 c. salted cocktail peanuts (or use soy nuts)
1 c. dried cranberries
1 c. candy-coated milk-chocolate pieces, such as M&M's
12 oz. vanilla-flavored candy coating or white candy melts
 
DIRECTIONS
1. In a very large bowl combine the cereal, pretzels, peanuts, cranberries and candy pieces; set aside.
2. Chop candy coating; in a medium microwave-safe bowl melt it according to package directions. Pour over cereal mixture; toss to coat.
3. Spread mixture on a large piece of foil. Let stand until set (about 30 minutes). Break into bite-size pieces. Makes 12 cups (24 1/2-cup servings).


Dry Ingredients 
Pouring in M&Ms


Myfavorite Part:melted candy!


Messy Goodness, The candy drying.. 
Paper cone lined with wax paper.


Finished cone, sealed with a sticker 
Reindeer Munch Paper Bags, ready for the kids on Christmas Eve.
Kaylee and I then made little signs and two different packaging types. Make sure to line whatever packaging you prefer (the paper cones, or paper bags) with wax paper, as this can get messy and leave wet marks on the paper. Or if you prefer to eat most of it, whilst watching Rudolph the Red Nosed Reindeer, you may join my couch potato club and do just that.
Merry Christmas to all and to all a good night!

Love and little snacks,
Kerry the Momster.