Facebook Us

Showing posts with label remake. Show all posts

Thursday, February 16, 2012

Dapper Dude

DISCLAIMER!!! I'm really not a fantastic seamstress- never been schooled in the area or anything, but I do know how to thread my machine and run pieces through it so that they stay together-ish. That being said, I don't really measure, or cut straight or have patience, or any remnants of the OCD I thought I had (with 2 kids, I'm lucky if I have enough energy to brush my teeth everyday, so why waste it on measuring??)...so if you are a real "sew-er" you may want to opt out on viewing any of my sewing tutorials, as they may look somewhat to you, as what I imagine a lamb being slaughtered might look like to a vegetarian.

That being said, here is my remake of a baby jersey/sweater into a vest. I adore this little sweater, so was really bummed when Asher outgrew it. And so the old man sweater has now become the old man vest! Heres how:
Lay sweater flat.

Snip off sleeves, including the seam. Save sleeves for later as I think I may have another project in the works for those!


Pin the ends inside.
Sew down and ...

done!

Add a baby and you are good to go!

So cute, I know!

Next time I would overlap the sleeves a bit so that they aren't so gaping.


Love and cuteness, 
Kerry the Momster

Friday, February 3, 2012

Little Red Tea Cart

Little Red Tea Cart Revamp: Weekend Project

This was a relatively effortless, affordable revamp to a tea cart for my kitchen- but would also make a charming addition to a hallway or bedroom if painted in a different color. 
  • How I did it: 
  • First I nailed down some loose boards on the bottom that were warped from water, then lightly sanded the wood and stains. Then I removed the wheels and painted with primer (extra primer on stained parts).
  • For color I used an indoor/outdoor lacquer spray paint as I was looking for a high-gloss effect. It took lots of layers and my fingers were sore!! I went through about 3 cans and had to wait between application.


    • But in one weekend the little cart went from drab to delectable and is now the "bread station" in our kitchen holding the toaster and vintage bread tin (another one of my favorite things). 


  • Love and charm,
    Kerry the Momster


  • Thursday, November 24, 2011

    Gobble, Gobble, Gobble, me up!

    Gobble Gobble!
    My love for cake-pops knows no seasonal boundaries. I wish I could say these were the lovechild of my own creativeness, but they are in fact inspired by the beautiful Bakerella(search for turkey cakepops on her site).
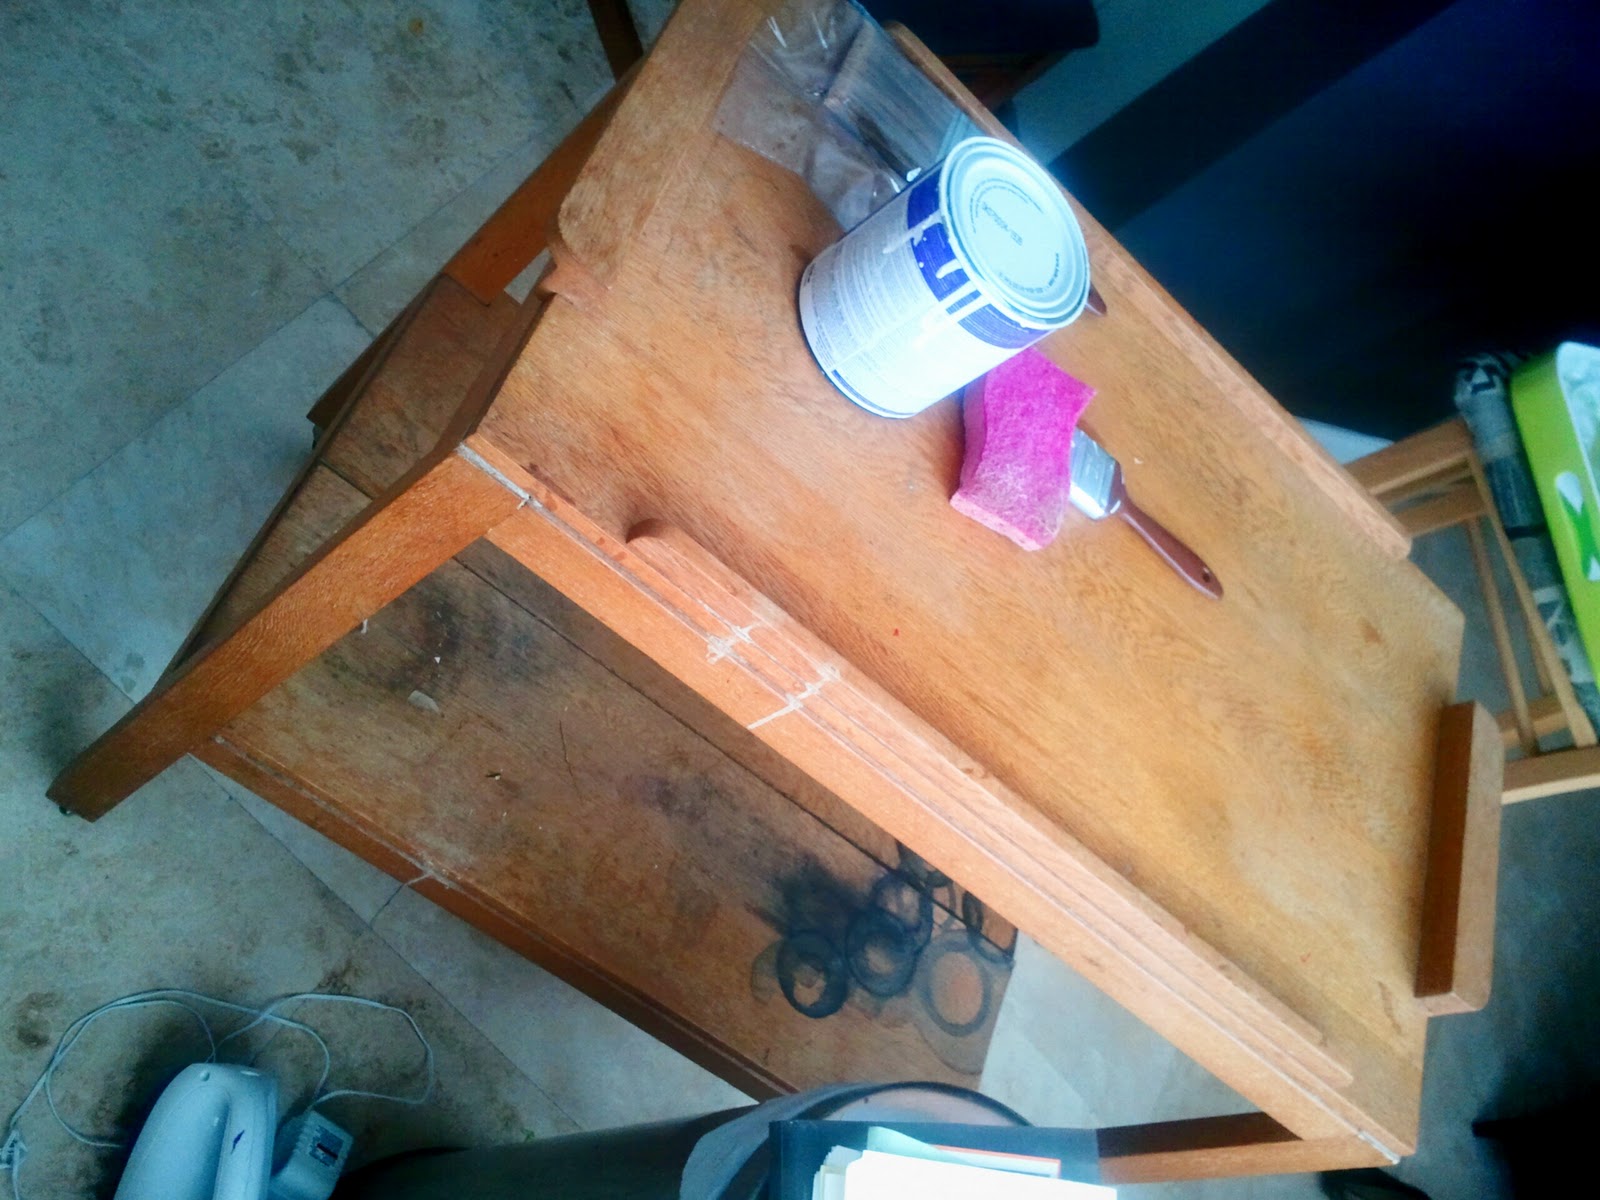
    The turkey making station.

    Mine were made with the left over cake from my son's first birthday, which I had frozen. Then crumbled the chocolate-deliciousness into chocolate frosting and froze into little balls. The I experimented with various candies to come up with a turkey face I was happy with. I settled on rolled fondant icing for the heads, cracked orange circle sprinkles for the beaks, pink starbursts for the wattles, and tiny rolled up pieces of tootsie rolls for the eyes. The tail feathers are candy corns pushed into the cakes after dipping in the candy coating.

    It was a fun little project that my daughter and niece are going to love at their place settings at dinner.

         I am thankful for so much this year, the usual stuff:family, friends, my health- but I REALLY feel it this year. Straight through the heart. As my good buddy Bjork says (okay we are not buddies in the real sense, only in the creepy I hang on to every note she sings sense), "All is full of love."

    Happy Thanksgiving Momsters!
    Love and grateful hearts,
    Kerry, the Momster

    Friday, August 5, 2011

    Toy Story

    This box was left at the house we moved into and I thought it would make a great "home" for the many, many, MANY, furry friends my daughter has. So with a few changes here and a couples stripes painted there, VOILA, good as new!

    Here is the tutorial: 

    1. Start with a white primer paint ( 2 coats). 2. Use painters tape to mark the stripes. 3. Spray paint the color of your choice. 4. Done! Easy right?
    Love and stripes,
    Kerry the Momster