Facebook Us

Showing posts with label reuse. Show all posts

Sunday, August 12, 2012

Mad Magnets

For a recent road trip to Daytona beach I went a little nuts making goodie bags to keep the kids entertained. This little magnet toy was such a hit with my daughter that I thought I would share. I used a cd tin and drew the background ocean scene on paper. Then I found 2 small pictures of the kiddies, cut them out and glued to a magnet sheet (you can also print directly onto magnet sheets, but I use recycled calendar magnets that we get from realtors and such like-read:free!). After that I used beach themed stickers stuck ont magnet sheets and cutout. Voila! Beach magnet scene toy ready and waiting. All the pieces fit nicely in the tin, and it is small enough to put in any purse for entertainment-on-the-go boring errand days.

Love and games,
Kerry, the momster.
Published with Blogger-droid v1.6.7

Thursday, February 16, 2012

Dapper Dude

DISCLAIMER!!! I'm really not a fantastic seamstress- never been schooled in the area or anything, but I do know how to thread my machine and run pieces through it so that they stay together-ish. That being said, I don't really measure, or cut straight or have patience, or any remnants of the OCD I thought I had (with 2 kids, I'm lucky if I have enough energy to brush my teeth everyday, so why waste it on measuring??)...so if you are a real "sew-er" you may want to opt out on viewing any of my sewing tutorials, as they may look somewhat to you, as what I imagine a lamb being slaughtered might look like to a vegetarian.

That being said, here is my remake of a baby jersey/sweater into a vest. I adore this little sweater, so was really bummed when Asher outgrew it. And so the old man sweater has now become the old man vest! Heres how:
Lay sweater flat.

Snip off sleeves, including the seam. Save sleeves for later as I think I may have another project in the works for those!


Pin the ends inside.
Sew down and ...

done!

Add a baby and you are good to go!

So cute, I know!

Next time I would overlap the sleeves a bit so that they aren't so gaping.


Love and cuteness, 
Kerry the Momster

Wednesday, February 8, 2012

Is it a bed? Is it a table? No it's a tangerine box!


Whaaaa???

My family seems to have been inhaling tangerines of late (known as naatjies in our house, as I am South African), and I have been wondering what to do with all these lovely wooden boxes left behind. Family Fun must have heard my silent cry and presented a beautiful craft that I knew would be right up my daughter's alley.
Being a lover of all things fluffy, or puppy, she is constantly making "beds" for all her fluffy, puppy "friends", covering them in washcloth "blankets" or -if they are really tiny- stuffing them inside sock "sleeping bags" (Adorable i know!!). This craft turns a simple tangerine box into a stylish table with a table cloth for toys by day, and then into a bed with a blanket for them by night.


Here's how:
Start with a wooden tangerine box.


This is optional, but we painted the legs and you can also paint the inside of the box, or cover with paper.

Cut the size you want your blanket/table cloth to be. I re-used an old shirt.


Cut and paste paper to cover inside walls of box.


Here we cut out a piece of fabric to make a "mattress" only because my daughter was concerned about the hardness of the box for her friends. So I cut a piece from an old nightie...

I hot glue gunned all around the sides to the box and left an opening...

Kaylee then put stuffing inside it and I hot glue gunned it closed. Then we made a pillow from the sleeve of the nightie


Soft bed and mattress. Now onto the blanket...

One side "table cloth" is the previously measured shirt, then the back of the nightie is the "blanket"side. Put them face sides together and pin.

Sew along edges, leaving a hole open and then turn right way around, and stitch up the hole.


Felt side top, and paper sides all hot glue gunned on, with help from mommy of course.


Table set , they want macaroni...

Furberry likes macaroni ...she ate it pretty quickly.


"It's like we got it at the store!!" I think she likes it :)


Here's the link for Family Fun's (but I think ours is cuter- and definitely more girly). Still, it was a great idea!

Still got more boxes? Here's more fun ways to use them...
So simple, yet effective. Change the label by erasing the chalk writing. From tiptoethrough.blogspot.com.

I am definitely making this!

Little herb garden...so cute as gifts!

Using to organize children's books, or as book tubs in classrooms (I would cover the boxes first though)

holding mosaic papers or crafting tools

Cooling pies and baked goods!


Love and little moments,
Kerry the Momster

Friday, February 3, 2012

Little Red Tea Cart

Little Red Tea Cart Revamp: Weekend Project

This was a relatively effortless, affordable revamp to a tea cart for my kitchen- but would also make a charming addition to a hallway or bedroom if painted in a different color. 
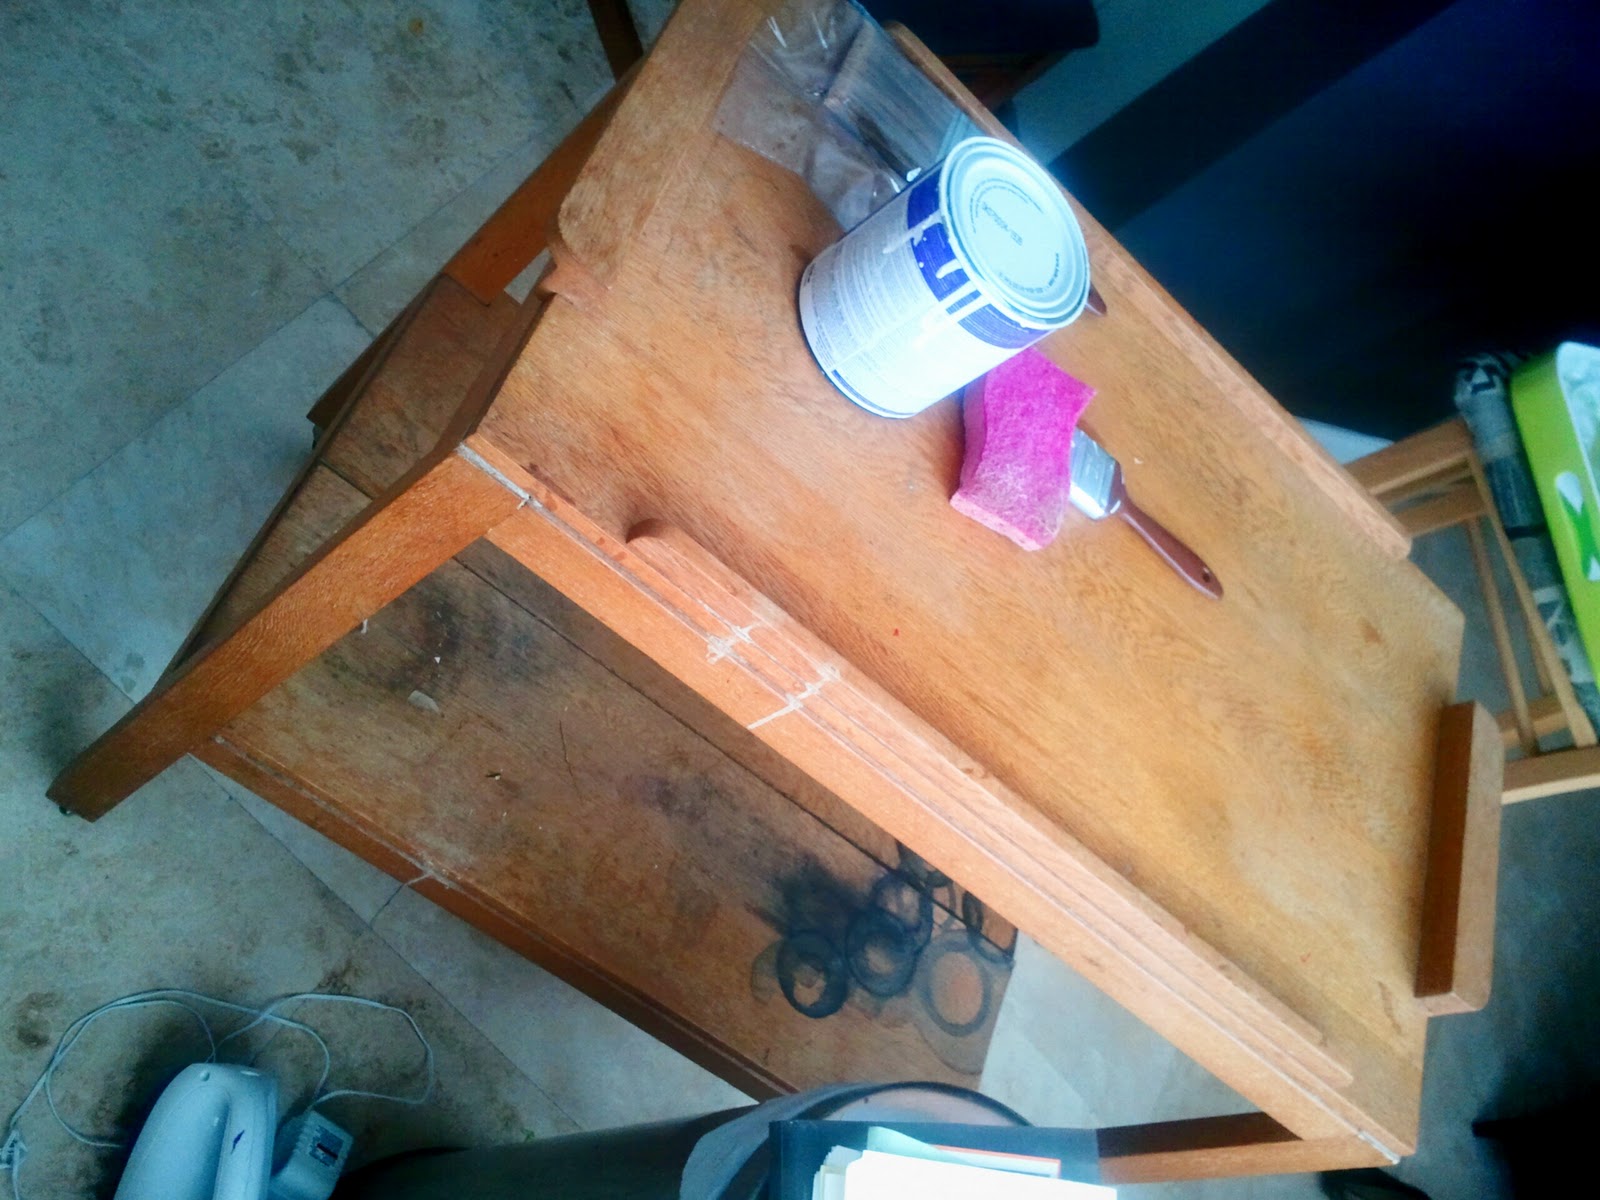
  • How I did it: 
  • First I nailed down some loose boards on the bottom that were warped from water, then lightly sanded the wood and stains. Then I removed the wheels and painted with primer (extra primer on stained parts).
  • For color I used an indoor/outdoor lacquer spray paint as I was looking for a high-gloss effect. It took lots of layers and my fingers were sore!! I went through about 3 cans and had to wait between application.


    • But in one weekend the little cart went from drab to delectable and is now the "bread station" in our kitchen holding the toaster and vintage bread tin (another one of my favorite things). 


  • Love and charm,
    Kerry the Momster


  • Wednesday, February 1, 2012

    Fluttering Hearts

    Mine.
    Theirs
    I saw this lovely heart paper chandelier in the pottery barn kids' catalog with it's not-so-lovely price of $45. I figured it seemed easy enough to make so I had a go at it for about $3 and a little bit of time spent with my darling daughter. Okay, mine is not quite as fancy but it was my first try at it, and I made it fairly quickly. Still it does the job of adding heart flair, but I think I will make more and add ribbons and fun sparkly things too.
    Here's how...
    What you need:
    2 wire hangers
    old magazines
    fishing string or sewing thread
    scissors
    glue
    hole punch (optional)


    1. Start with 2 wire hangers. Twist them around each other to make a plus sign with one hook at the top. Bind the hangers with fishing string or wool. Next time I think I would cover it with ribbon before I tied the strings on to cover the wire.
    2. Tear red, pink and white colors from magazines (great for a child to do). You don't need the pages to be free of writing-as you can see I used Gerber ads here.
    3.Glue them into full "pages" so that both back and front are in valentine colors.
    4.Then cut out heart shapes, or use a template and have your child cut out hearts. You can also use construction paper if you don't want to go through the hassle of magazine scrap hunting.
    5. Punch holes into the hearts or just cut a little slit at the top.
    6. String the hearts together, tying double knots at the top of the heart to hold them in place. I used 3-5 per string. 


    7. Tie them on to the hanger 


    8. Hang :) 

    Love and fluttering hearts,
    Kerry the Momster