Facebook Us

Showing posts with label tutorial. Show all posts

Friday, February 8, 2013

Letters to my Valentine


I heart snail mail. Always have, always will! Sadly, it is a dying art form. For the day of love: Valentines Day, which also happens to be one of my favorite holidays (maybe having something to do with my birthday being the following day) I make lots of pretty things for the specials in my life.

When my daughter was born I began a series of letters to her, that I mail to our address and then stuff into a box unopened when they arrive, so one day she will have a "journal" of unopened letters all postmarked. For my son, I haven't been as diligent, but write to him in an actual journal, letters whenever I remember to (The second baby always gets jilted).


Valentine Craft
So for Valentines Day I made them each a "sustainable" felt envelope to stuff with treats, and maybe afterwards if I am feeling up to it, will add to the collection, so that they can play mailman with velcro stamps and the works.
Here's how:


For the top flap, use a new piece of felt halved, then fold in half again and cut in a jagged diagonal, rounding the top.

Cut out a triangular piece from the top piece of felt on the envelope body.

Stitch the sides and bottom first. I used a contrasting red color thread for effect.
Then add top panel and stitch straight across.


All done! Easy right?

Now to decorate...

I cut out felt names because I want to use them as place cards for the Valentine table too.


I made a quick stamp and some permanent marker lines on the front.

 
I love love love them! Hope my kiddies do too!


Love and letters,
Kerry, the Momster

Monday, March 5, 2012

Little Flower Princess

For Make-It March, here's a tutorial for a shirt I made a while back, inspired by one of my favorite bloggers, Ruffles and Stuff. A simple way to jazz up a shirt for a girl:

 1. Start with a fun colored Shirt.
2. Cut out two shapes of "tear drops" and then cut out from chiffon. (I used the top part of a nightie that my daughter has outgrown). Cut as many pieces as will take to go around the collar twice.
 
 3. Pin the big tear drops to the shirt and run through the machine, then repeat with the little ones and voila!


4. Little Flower Princess! (Clip tutorial coming soon!)

Love and petals,
Kerry the Momster

Thursday, February 16, 2012

Dapper Dude

DISCLAIMER!!! I'm really not a fantastic seamstress- never been schooled in the area or anything, but I do know how to thread my machine and run pieces through it so that they stay together-ish. That being said, I don't really measure, or cut straight or have patience, or any remnants of the OCD I thought I had (with 2 kids, I'm lucky if I have enough energy to brush my teeth everyday, so why waste it on measuring??)...so if you are a real "sew-er" you may want to opt out on viewing any of my sewing tutorials, as they may look somewhat to you, as what I imagine a lamb being slaughtered might look like to a vegetarian.

That being said, here is my remake of a baby jersey/sweater into a vest. I adore this little sweater, so was really bummed when Asher outgrew it. And so the old man sweater has now become the old man vest! Heres how:
Lay sweater flat.

Snip off sleeves, including the seam. Save sleeves for later as I think I may have another project in the works for those!


Pin the ends inside.
Sew down and ...

done!

Add a baby and you are good to go!

So cute, I know!

Next time I would overlap the sleeves a bit so that they aren't so gaping.


Love and cuteness, 
Kerry the Momster

Monday, February 13, 2012

Passion Pendants

This Valentine pendant decoration that I saw somewhere (but don't recall where) was really fun to make with the kids. It's pretty simple and versatile, make it as basic or complex as you like. Add more pendants,decorations or photos to it for personalization.

You need: Paper, scraps and embellishments, string and glue.
Start with A4 size paper ( or scrapbook paper made cut smaller). You can also use fabric or felt instead.

Fold in half and cut to create the point.

Decorate... these are Asher's handprints

Kaylee made hers with everything "Valentines"


Ahhh..I can't stop! More more!

Watch out for the bugaboo. He likes to grab things off the table.


Here I added a slip at the top to thread the fishing wire through.

Add caption


String it up and done!
"Love, like a river, will cut a new path
whenever it meets an obstacle."
Crystal Middlemas -

Love and hugs,
Kerry the Momster

Sunday, February 12, 2012

These, as our love, will last forever.

Nothing says love like handmade flowers.If you are like me, and despise roses, then whip up your own bunch of colorful carnations for Valentines Day. They are very, very easy. So easy, that I had time to write "easy" twice. :)

Start with tissue paper, folded in half until there is a stack. You can use multiple colors for the same flower, or single colors. These are yours, so there are no rules. (Well except that there is no crying in baseball, that rule applies everywhere)

Cut a stack into dog bone shapes. You can make a template or free-cut. It doesn't have to be perfect.


Using a pipe cleaner push up through the layers of paper. Then fan the "bones" around until they are evenly distributed. After that push the pipe cleaner back through the papers and wind around the base of the stem.

Pink Flower done :)
Smells good too! (No, not really)
Now, go make some!
Love and blooms,
Kerry, the Momster

Saturday, February 11, 2012

Soft as petals.

Felt flowers are fun!


A cute little felt flower tutorial, for your tiniest valentines. Easy-peasy, lemon squeezy, and so cute, you might become a felt flower addict.
Start with a square (I divided one piece of felt into 6 squares)
Draw a spiral. As you do more, you may not need to draw them anymore, and just cut blindly.
Cut some petals too, if you like.
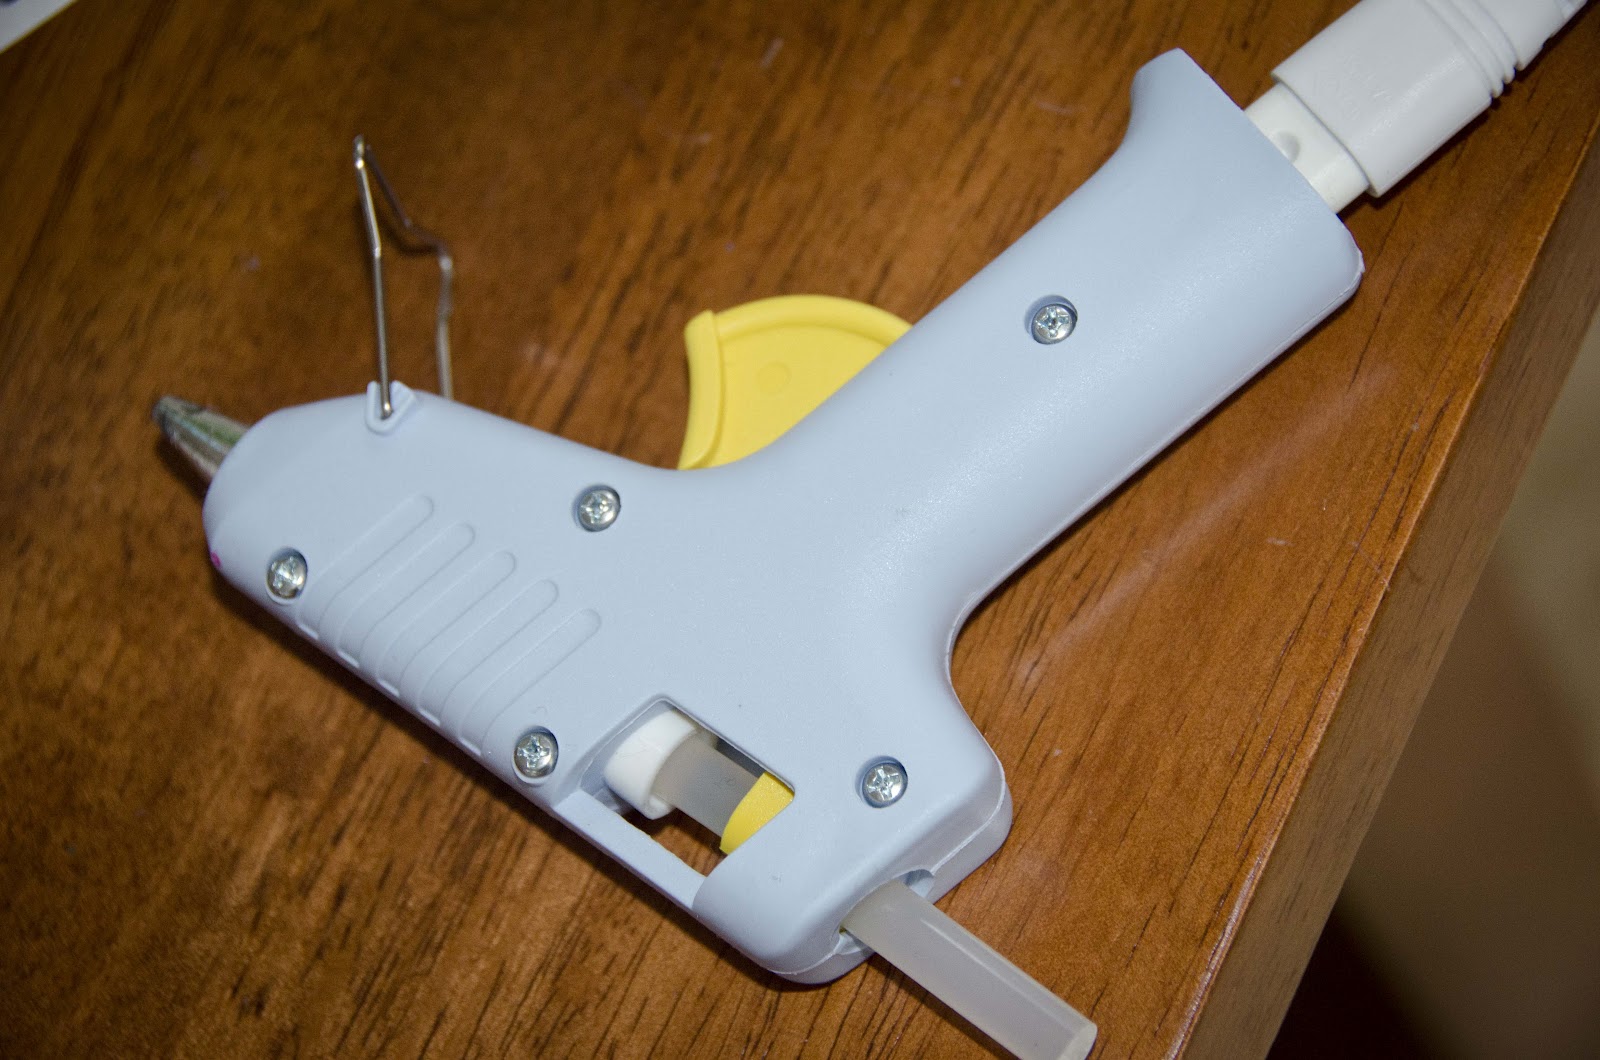
My favorite weapon in my craft box: glue gun! (but you can use liquid glue)
Cut the spiral...
Now roll and glue from the middle, round and round ( like rolling a sleeping bag)
More of the rolling...
When finished, glue the end. Now glue on some petals, and use to decorate your children. :) I glued a safety pin onto one, and a hair clip onto another. You can use them to embellish gifts, shoes, hairbands, tacoss... ok, maybe not tacos.

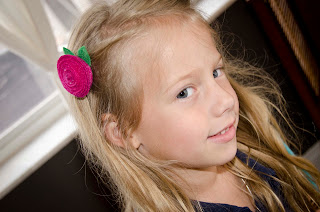
Pro Felt flower model.
Love and little flowers, Kerry the Momster