Facebook Us

Showing posts with label DIY. Show all posts

Sunday, August 12, 2012

Mad Magnets

For a recent road trip to Daytona beach I went a little nuts making goodie bags to keep the kids entertained. This little magnet toy was such a hit with my daughter that I thought I would share. I used a cd tin and drew the background ocean scene on paper. Then I found 2 small pictures of the kiddies, cut them out and glued to a magnet sheet (you can also print directly onto magnet sheets, but I use recycled calendar magnets that we get from realtors and such like-read:free!). After that I used beach themed stickers stuck ont magnet sheets and cutout. Voila! Beach magnet scene toy ready and waiting. All the pieces fit nicely in the tin, and it is small enough to put in any purse for entertainment-on-the-go boring errand days.

Love and games,
Kerry, the momster.
Published with Blogger-droid v1.6.7

Thursday, July 26, 2012

Tooth Buddy

Kaylee has a loose tooth and will soon be collecting payment from the tooth fairy. I made this little buddy to hold her tooth, and then the money, based off of a few I had seen online. She loves it!

Love and loose teeth,
Kerry ,the momster
Published with Blogger-droid v1.6.7

Monday, July 23, 2012

Kiwis and Kids and Krafts


This is such a fantastic idea, that I wish I had come up with it! For busy moms, no need to stress about whether you are being creative enough, or doing enough arts and crafts with your kids, the wonderful people at KiwiCrate.com do it for you.

Each month you receive a box with all the supplies, materials and instructions for easy, exciting and enriching activities. Aimed at ages 3-7 yrs, many can be done alone, but they are so fun you will probably beg to participate. You can sign up for monthly deliveries ($19.95), or buy a gift for someone for just 1,3, or 6 months. And to add siblings it's just $7.99. Each project is designed with children's healthy development and learning in minds, and list the areas of growth such as: Creating, discovering, gross motor, fine motor, communicating and caring.This is the perfect gift for the child who has it all!

Sample Box 
Dig Into Dinosaurs
Project One
Fossil Fun
Create your own fossils using special clay, sticks and dinosaurs.
Project Two
Stompy Dinosaur Feet
Design and make your own special dinosaur feet. Perfect for stomping.
Project Three
Dinosaur Tail
Decorate and wear a dinosaur tail, a perfect complement to your dino feet.
Plus 
 
Kaylee can't wait for her box this month. It is a Wild Safari theme. We will post pics of the journey :)


 Love and exploration,
Kerry the Momster

Lookie lookie its a nookie

Inspired by some lovely reading nooks (or hideouts) as my daughter calls them) I whipped up this baby in under an hour. I used wire to fasten the curtain, an papasan chair cushion as the plush floor and christmas lights tied with ribbon for the ethereal lighting. Little Kaylee was so in love with it, that she slept in it exclaiming "I just know this is going to be the best night ever! I can tell!"

Love and little joys,
Kerry the Momster
Published with Blogger-droid v1.6.7

Sunday, July 15, 2012

Summer Fun

My kiddies are a handful to entertain in the summer but this recipe for sidewalk paint was so easy, cheap and had them entertained for ages! Right after I plonked them in the bath and they were delighted by how the water turned colors too!

Recipe: 1 cup corstarch to 1 cup water, mixed with food colorings of your choice. Seperate into muffin tins.

Love and color,
Kerry
The momster
Published with Blogger-droid v1.6.7

Thursday, February 16, 2012

Dapper Dude

DISCLAIMER!!! I'm really not a fantastic seamstress- never been schooled in the area or anything, but I do know how to thread my machine and run pieces through it so that they stay together-ish. That being said, I don't really measure, or cut straight or have patience, or any remnants of the OCD I thought I had (with 2 kids, I'm lucky if I have enough energy to brush my teeth everyday, so why waste it on measuring??)...so if you are a real "sew-er" you may want to opt out on viewing any of my sewing tutorials, as they may look somewhat to you, as what I imagine a lamb being slaughtered might look like to a vegetarian.

That being said, here is my remake of a baby jersey/sweater into a vest. I adore this little sweater, so was really bummed when Asher outgrew it. And so the old man sweater has now become the old man vest! Heres how:
Lay sweater flat.

Snip off sleeves, including the seam. Save sleeves for later as I think I may have another project in the works for those!


Pin the ends inside.
Sew down and ...

done!

Add a baby and you are good to go!

So cute, I know!

Next time I would overlap the sleeves a bit so that they aren't so gaping.


Love and cuteness, 
Kerry the Momster

Monday, February 13, 2012

Passion Pendants

This Valentine pendant decoration that I saw somewhere (but don't recall where) was really fun to make with the kids. It's pretty simple and versatile, make it as basic or complex as you like. Add more pendants,decorations or photos to it for personalization.

You need: Paper, scraps and embellishments, string and glue.
Start with A4 size paper ( or scrapbook paper made cut smaller). You can also use fabric or felt instead.

Fold in half and cut to create the point.

Decorate... these are Asher's handprints

Kaylee made hers with everything "Valentines"


Ahhh..I can't stop! More more!

Watch out for the bugaboo. He likes to grab things off the table.


Here I added a slip at the top to thread the fishing wire through.

Add caption


String it up and done!
"Love, like a river, will cut a new path
whenever it meets an obstacle."
Crystal Middlemas -

Love and hugs,
Kerry the Momster

Sunday, February 12, 2012

These, as our love, will last forever.

Nothing says love like handmade flowers.If you are like me, and despise roses, then whip up your own bunch of colorful carnations for Valentines Day. They are very, very easy. So easy, that I had time to write "easy" twice. :)

Start with tissue paper, folded in half until there is a stack. You can use multiple colors for the same flower, or single colors. These are yours, so there are no rules. (Well except that there is no crying in baseball, that rule applies everywhere)

Cut a stack into dog bone shapes. You can make a template or free-cut. It doesn't have to be perfect.


Using a pipe cleaner push up through the layers of paper. Then fan the "bones" around until they are evenly distributed. After that push the pipe cleaner back through the papers and wind around the base of the stem.

Pink Flower done :)
Smells good too! (No, not really)
Now, go make some!
Love and blooms,
Kerry, the Momster

Saturday, February 11, 2012

Soft as petals.

Felt flowers are fun!


A cute little felt flower tutorial, for your tiniest valentines. Easy-peasy, lemon squeezy, and so cute, you might become a felt flower addict.
Start with a square (I divided one piece of felt into 6 squares)
Draw a spiral. As you do more, you may not need to draw them anymore, and just cut blindly.
Cut some petals too, if you like.
My favorite weapon in my craft box: glue gun! (but you can use liquid glue)
Cut the spiral...
Now roll and glue from the middle, round and round ( like rolling a sleeping bag)
More of the rolling...
When finished, glue the end. Now glue on some petals, and use to decorate your children. :) I glued a safety pin onto one, and a hair clip onto another. You can use them to embellish gifts, shoes, hairbands, tacoss... ok, maybe not tacos.

Pro Felt flower model.
Love and little flowers, Kerry the Momster

Friday, February 3, 2012

Little Red Tea Cart

Little Red Tea Cart Revamp: Weekend Project

This was a relatively effortless, affordable revamp to a tea cart for my kitchen- but would also make a charming addition to a hallway or bedroom if painted in a different color. 
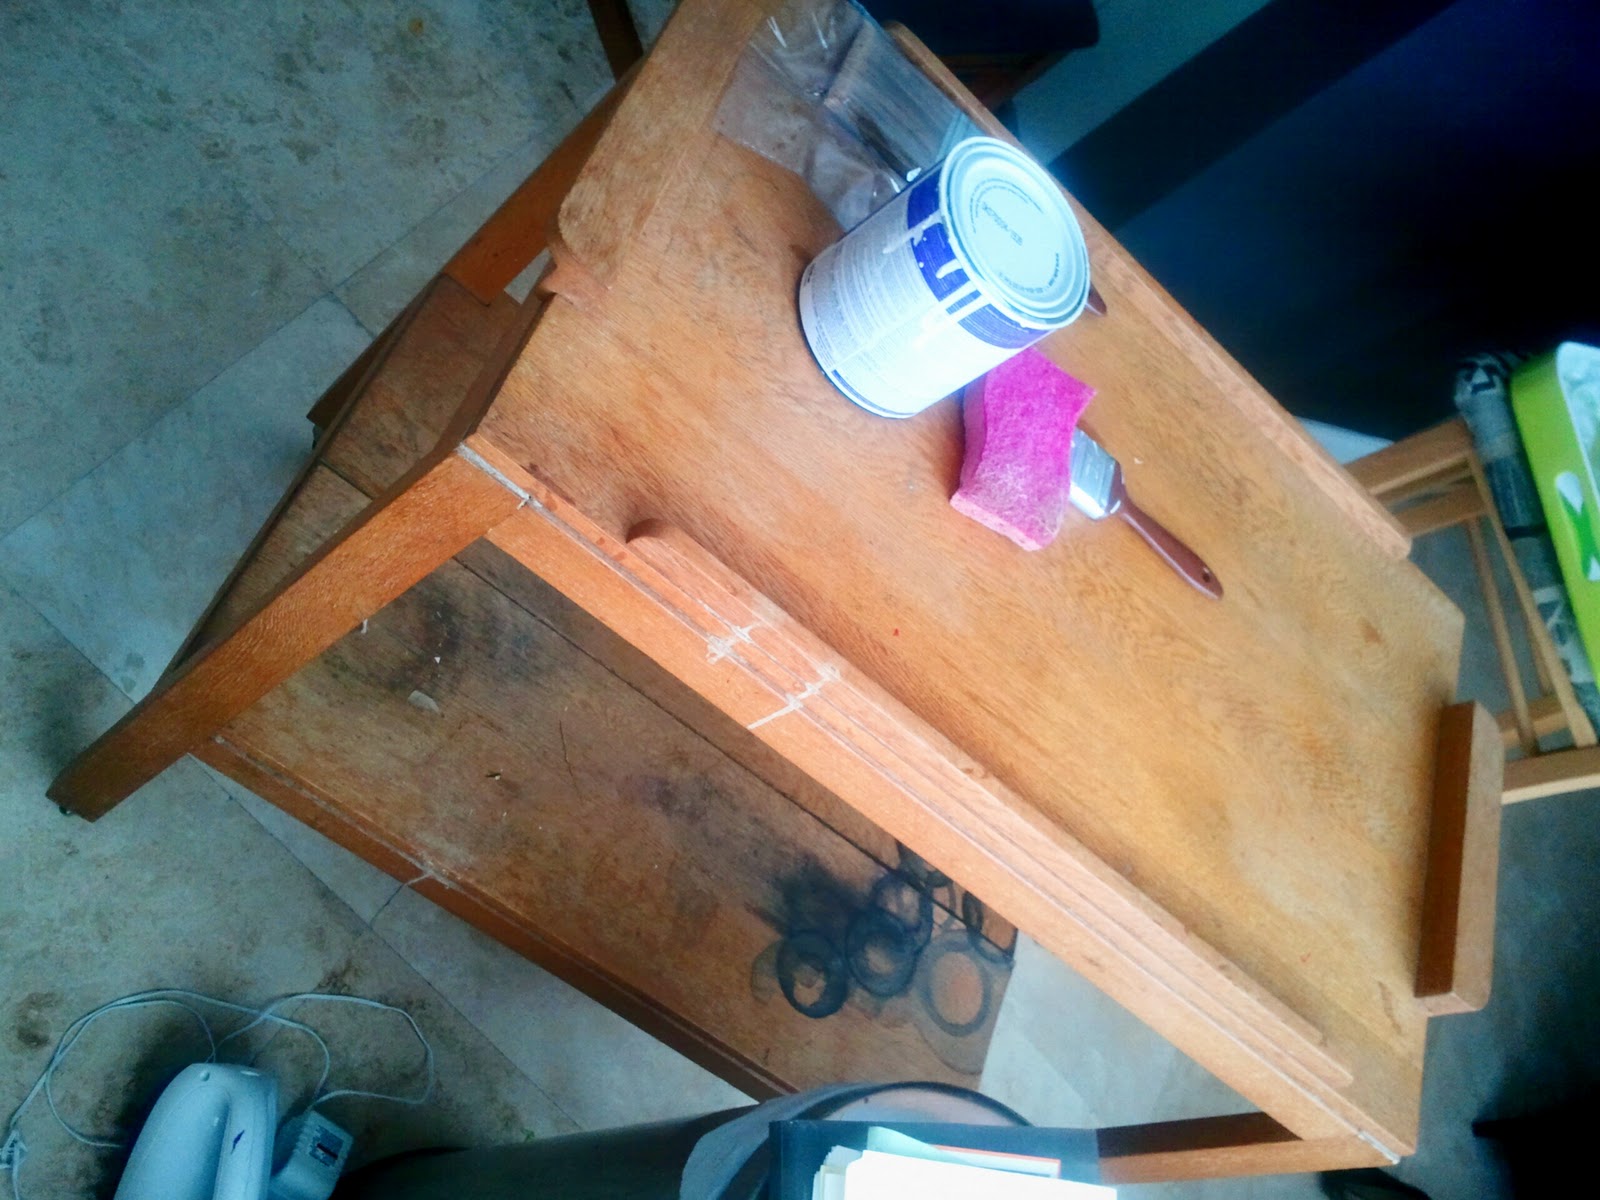
  • How I did it: 
  • First I nailed down some loose boards on the bottom that were warped from water, then lightly sanded the wood and stains. Then I removed the wheels and painted with primer (extra primer on stained parts).
  • For color I used an indoor/outdoor lacquer spray paint as I was looking for a high-gloss effect. It took lots of layers and my fingers were sore!! I went through about 3 cans and had to wait between application.


    • But in one weekend the little cart went from drab to delectable and is now the "bread station" in our kitchen holding the toaster and vintage bread tin (another one of my favorite things). 


  • Love and charm,
    Kerry the Momster